Few years ago when I was in college we get to work on a fashion collection as a group project. The rule is we have to recycle any waste material to create the collection and we only had 10 days time for the fashion show.
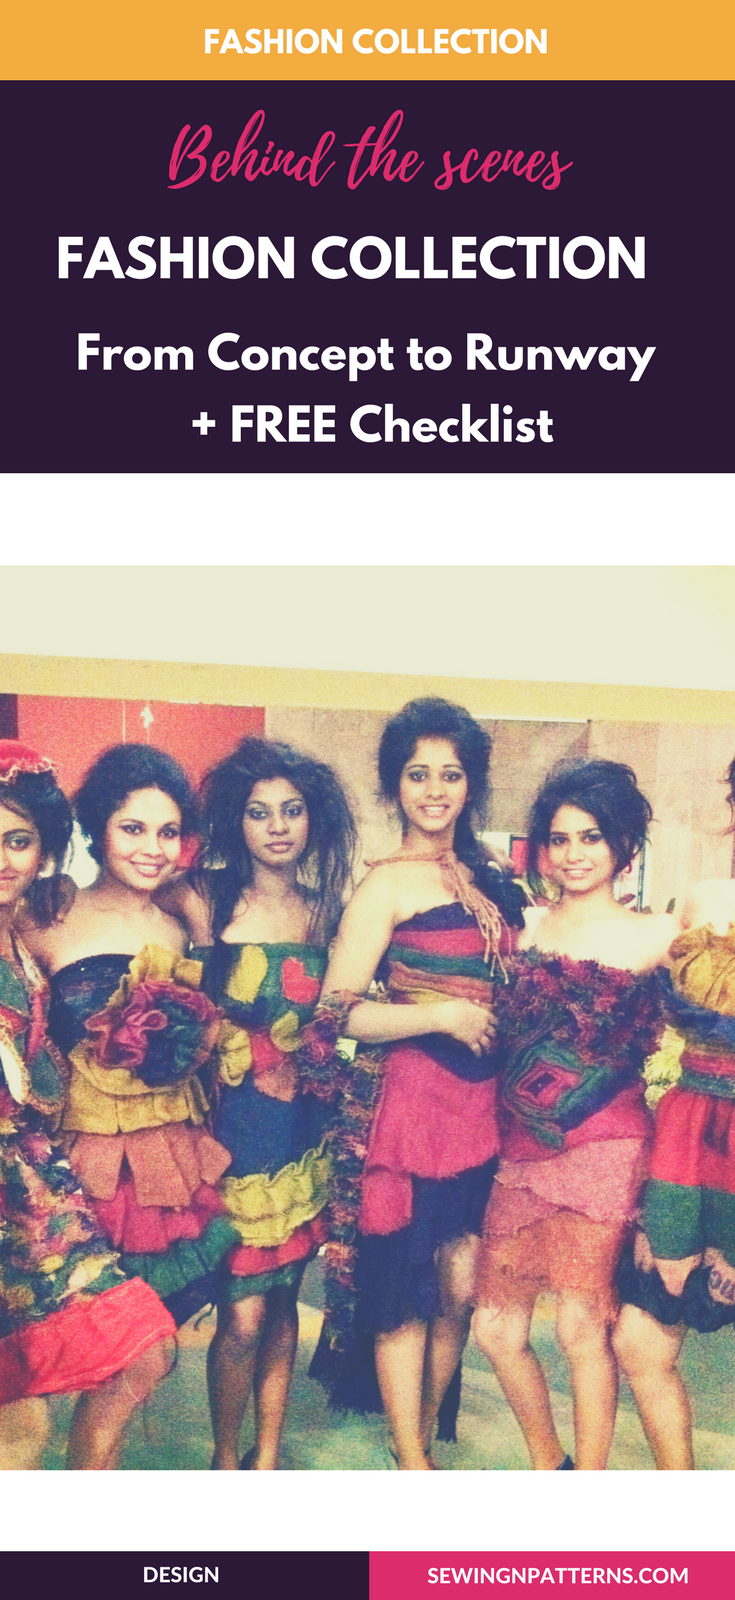
We decided to make a collection using rice bags which are made of jute. Of course our collection is not going to be wearable, since the jute bag material is very rough on skin. We want to make this collection only to build awareness that this material can be recycled into many other things rather than just throwing away.
We were not really sure about how these are going to turn out, when we are starting out and this is totally an experiment.
Surprisingly, it was a super hit by the end and the collection was all over media.
Now I’m going to break it down the process and take you behind the scenes so that
- It gives you the bird’s eye view of what goes into creating a collection
- Understand the process from fashion sketching to creating the final dress
- Hopefully inspires you to start your first or next fashion collection.
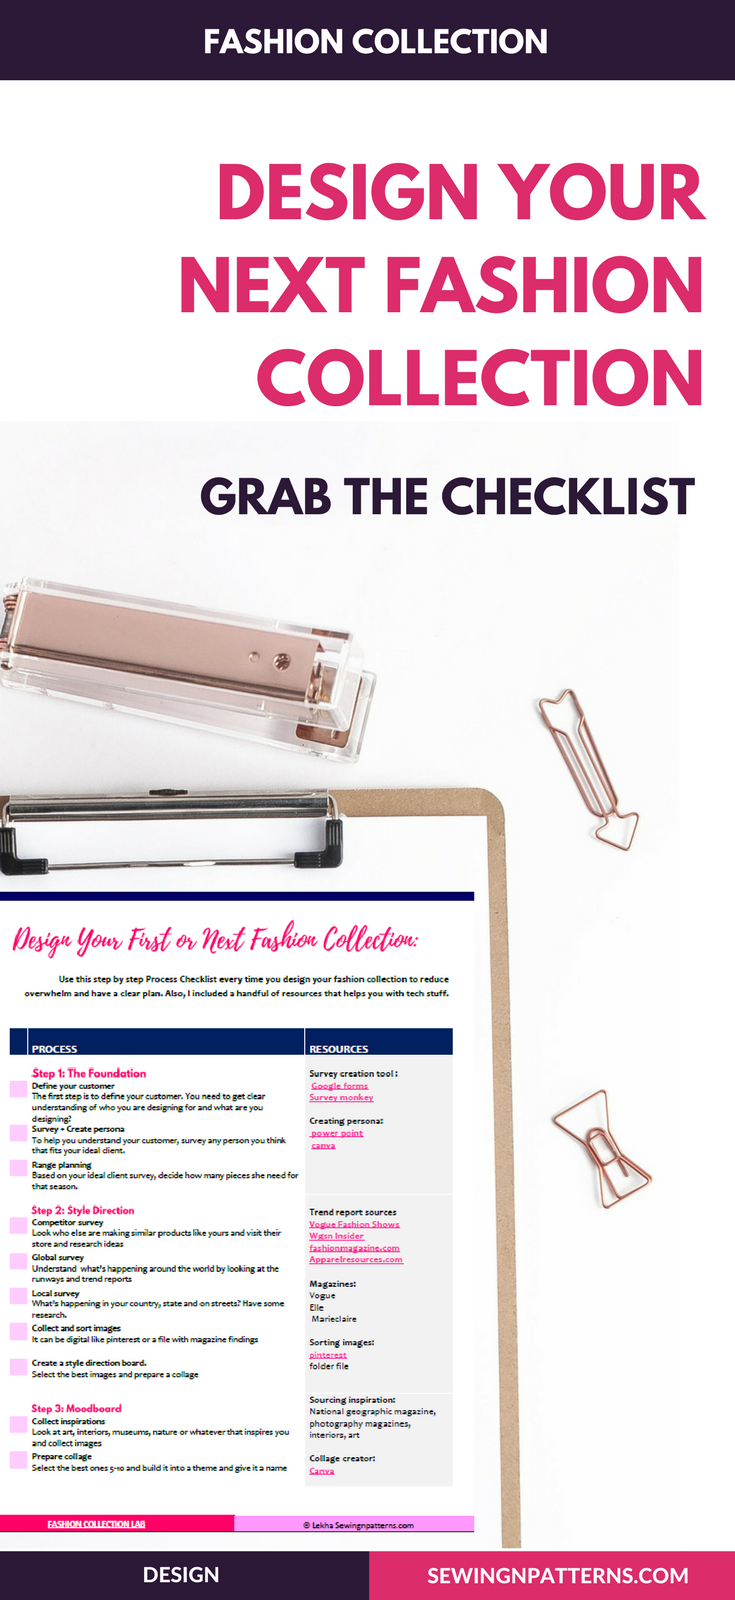
Also, you can grab my step by step process into a beautiful checklist along with the tools that helps you get started with your collection right away by the end of this post.
Step 1: choosing the colors and concept
We wanted to go for rainbow colors and since we don’t have enough time to make beautiful moodboard, we roughly collected images to a folder.
Otherwise, I strongly recommend to begin with the moodboard.
Step 2: Design development
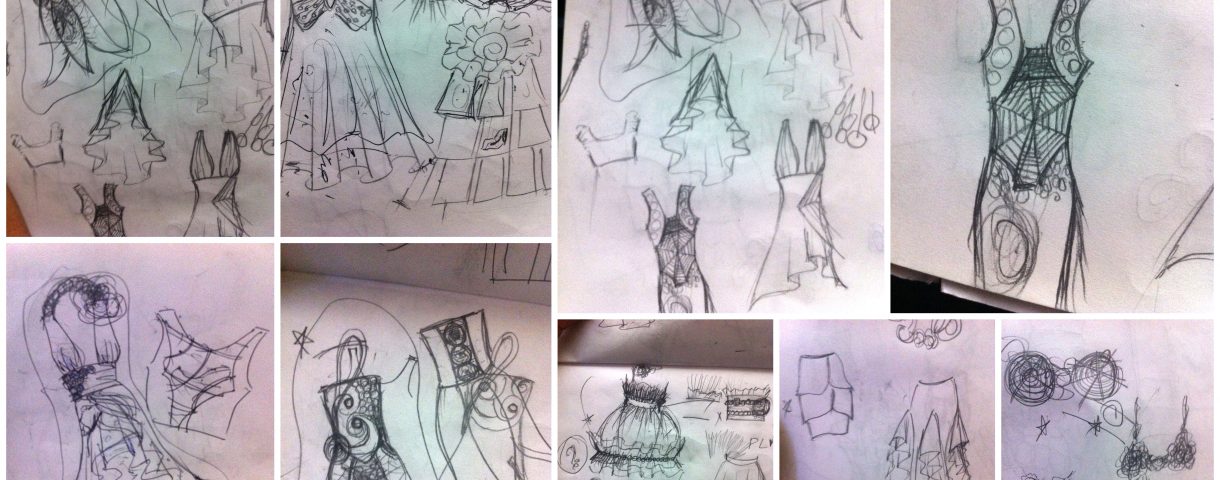
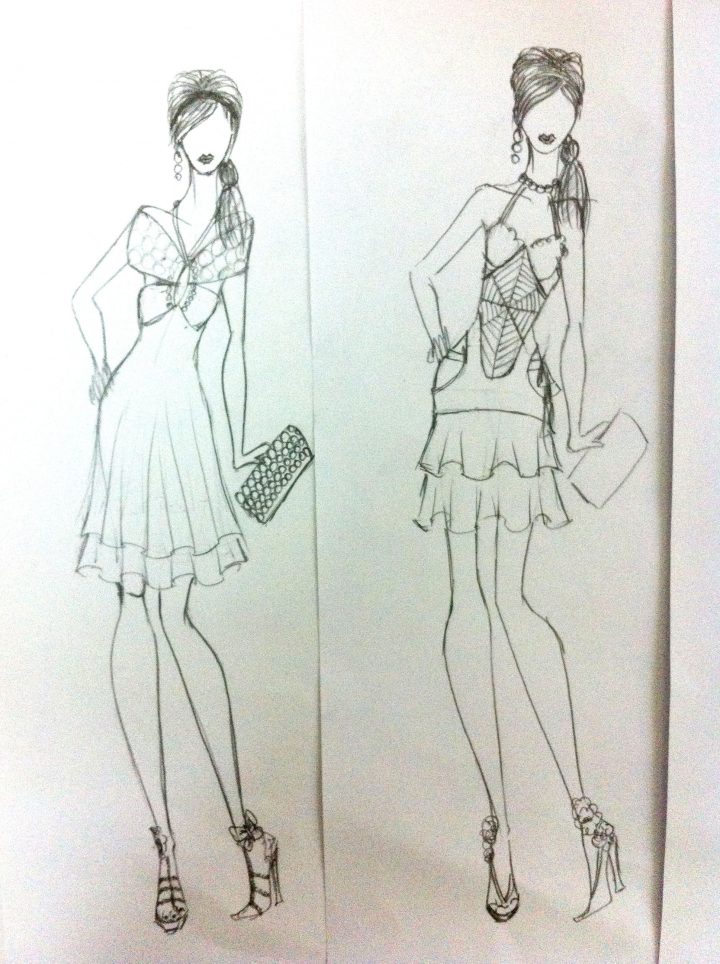
Since this material is very bulky, we have many limitations and we can’t create any minute details or beautiful finishes. Keeping that in mind, I created several initial sketches with the possible designs.
P.S. The images are not that clear, because we don’t have great cameras or phones by the time.
Step 3: Final Design
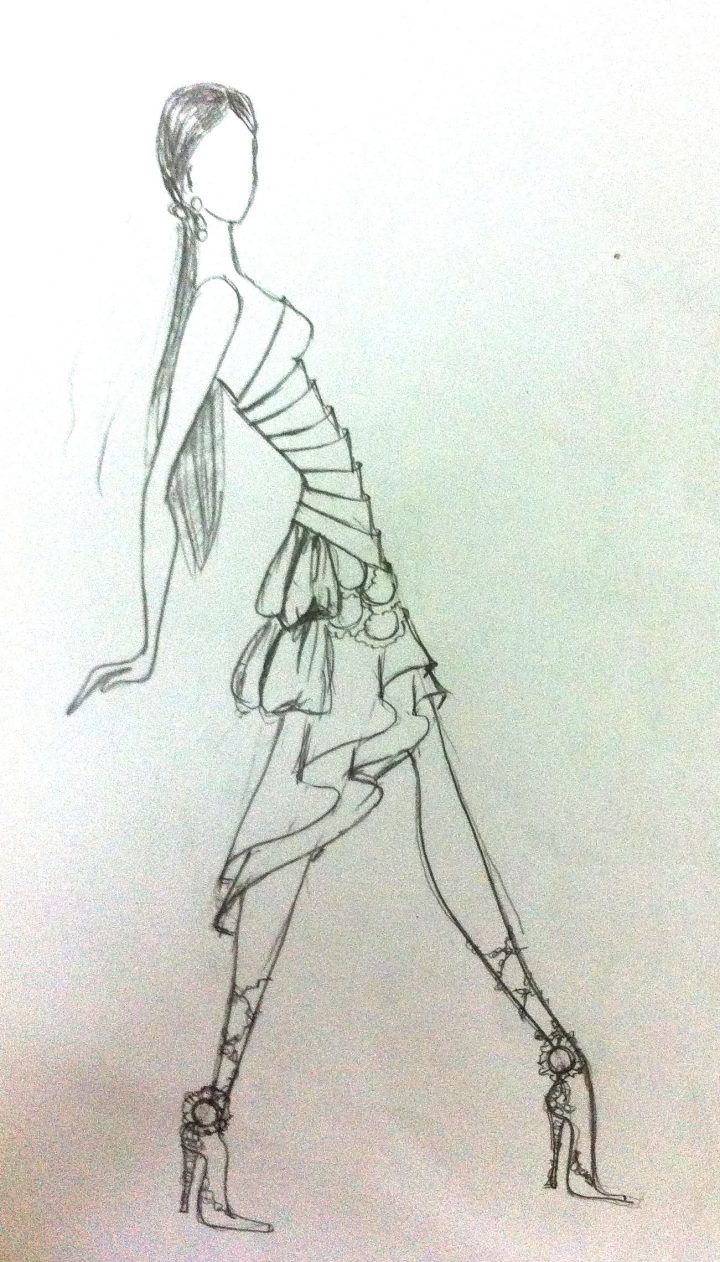
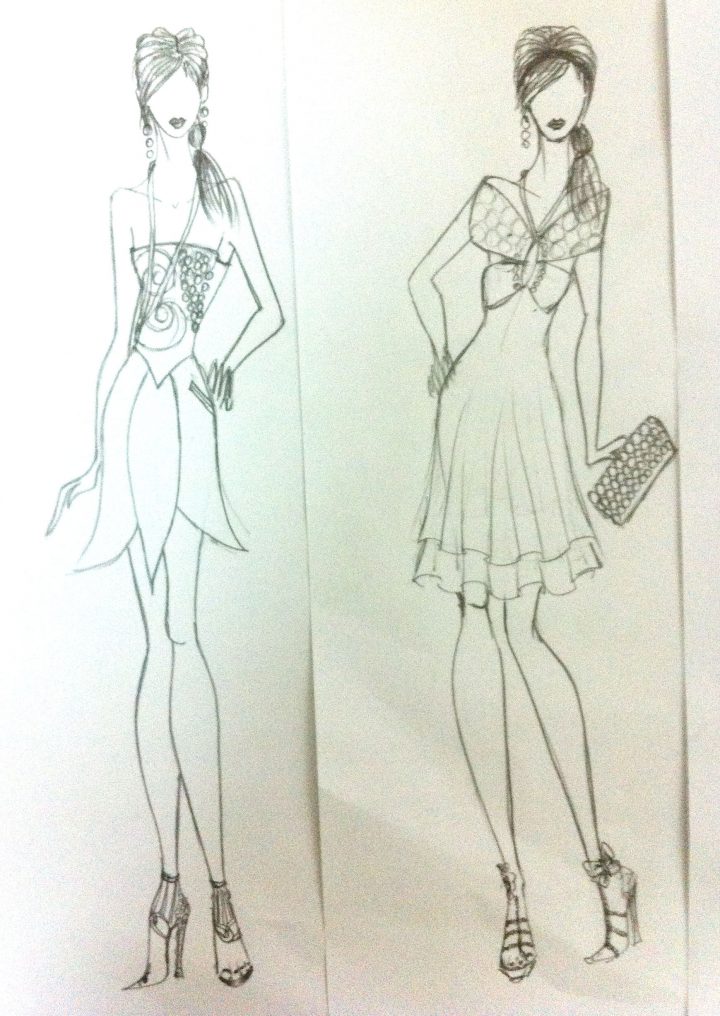
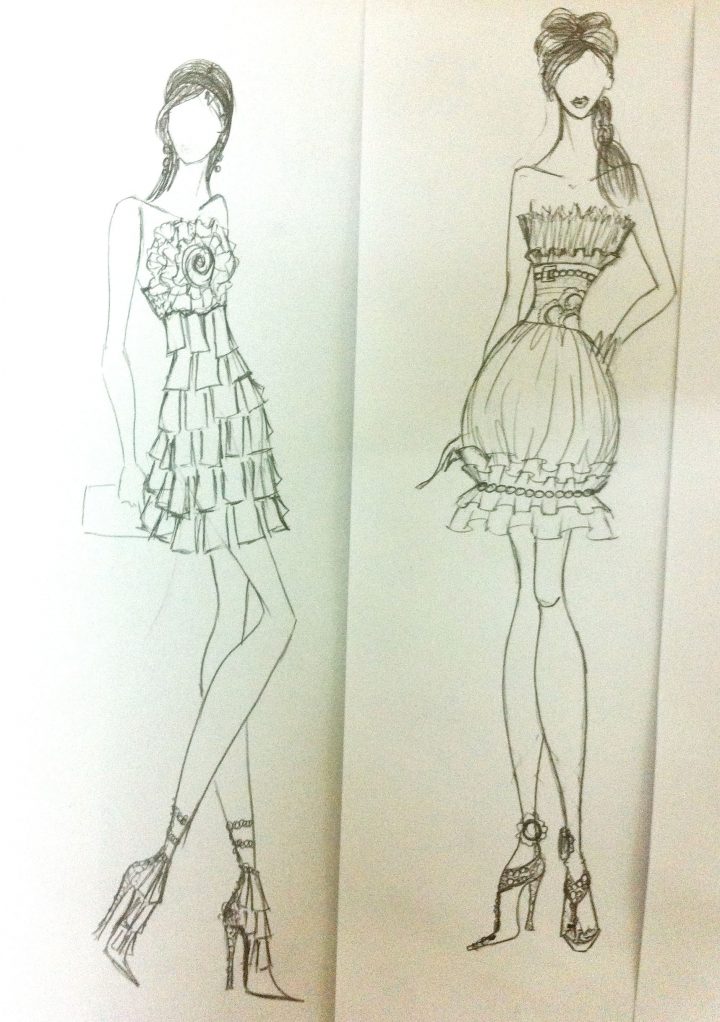
We started to edit our initial sketches by picking one element from here and one element from there and finally selected 6 designs to work.
If you need help with fashion sketching, check out my free fashion sketching course.
Step 4: Fabric Development
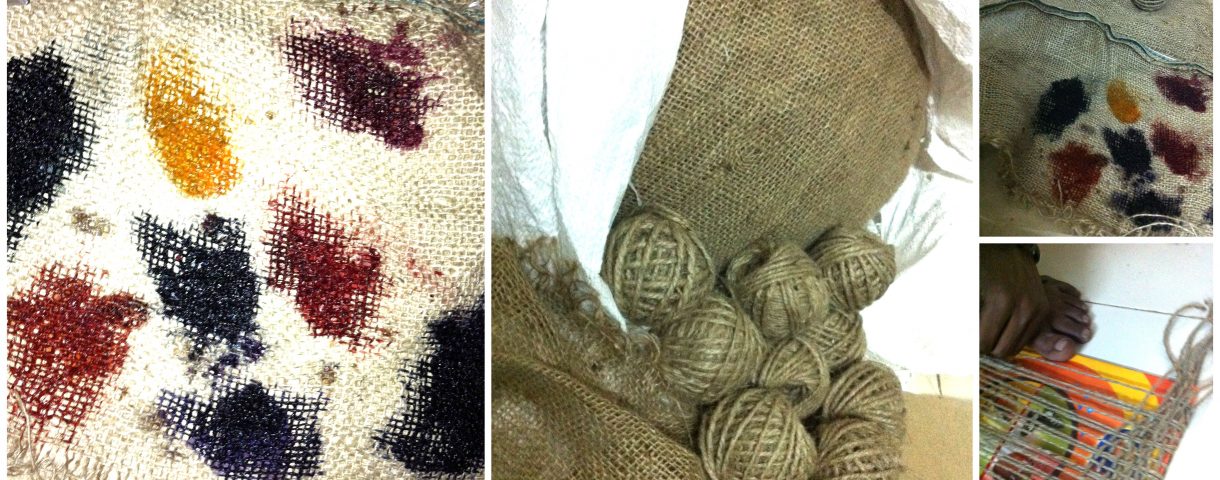
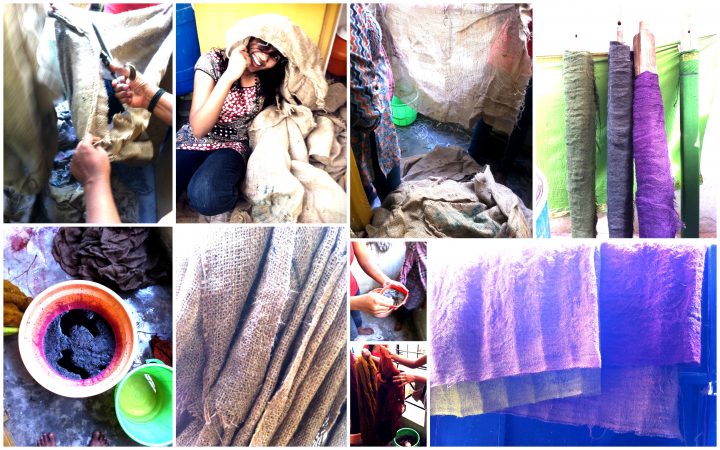
This material comes in medium brown color and we wanted to dye the rainbow colors to it. Though we dyed many fabrics before but all of them are white fabrics but in this case, we were not really sure how these colors react and we need to adjust the color mixing for perfect shade. For example, if we try to dye orange color, we were getting dark brown as result.
We started by making little samples to test the colors and once we were satisfied, we dyed and rolled the fabrics.
For details, we created different weaves out of cords and dyed them too.
Step 5: Developing the patterns
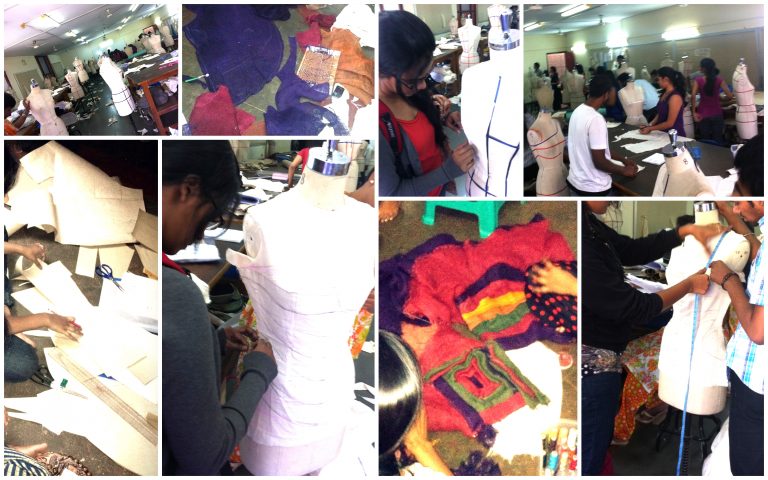
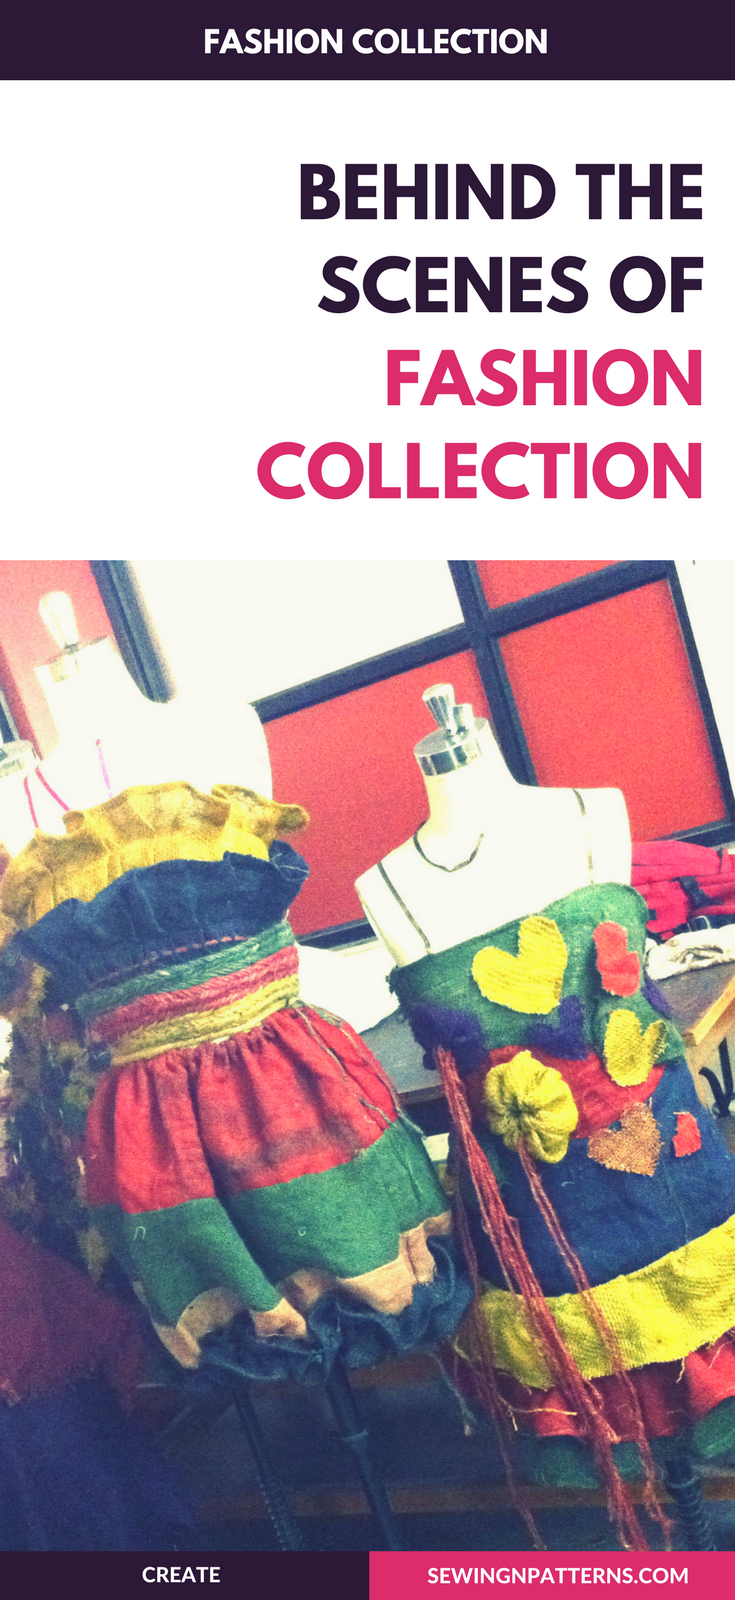
We started draping the designs with muslin fabric on dress form and made little adjustments and then created paper patterns followed by cutting the fabric.
Step 6: Creating final dresses
Sewing the patterns is handed over to two of the ladies on the group. (I’m not really comfortable with sewing as much as I am with designing and pattern making. The first person I hire on every project is a seamstress). Finally it’s like a dream come true to see our ideas turn into reality.
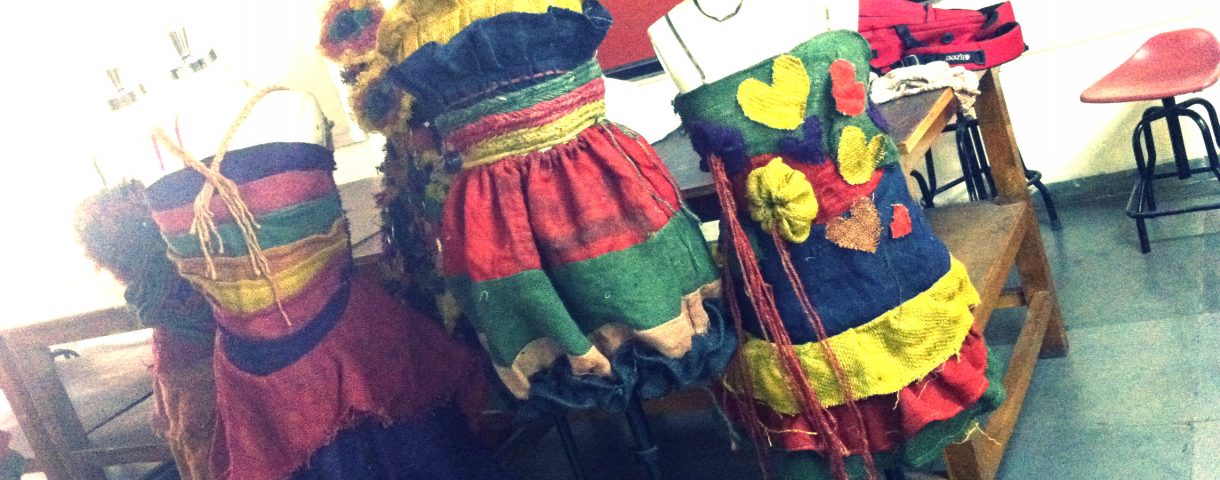
Step 7: Final show
We did the test fitting on models and made minute adjustments and finally our clothes are on runway.
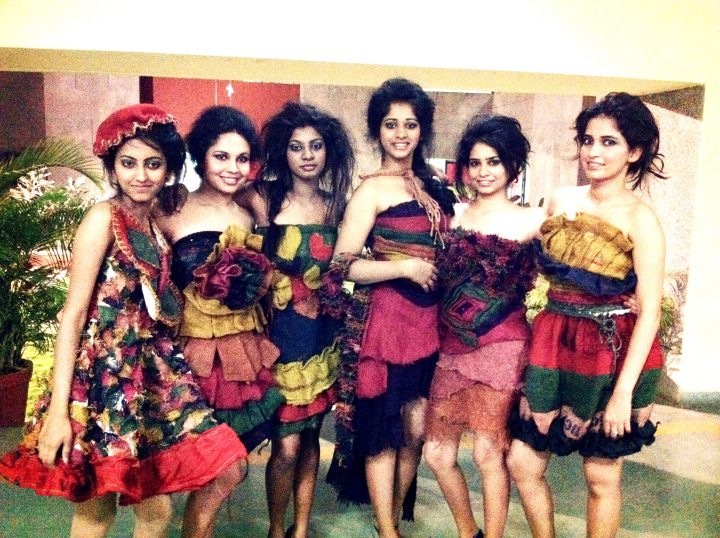
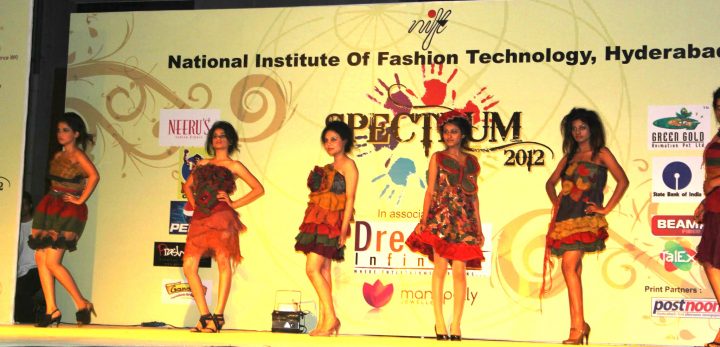
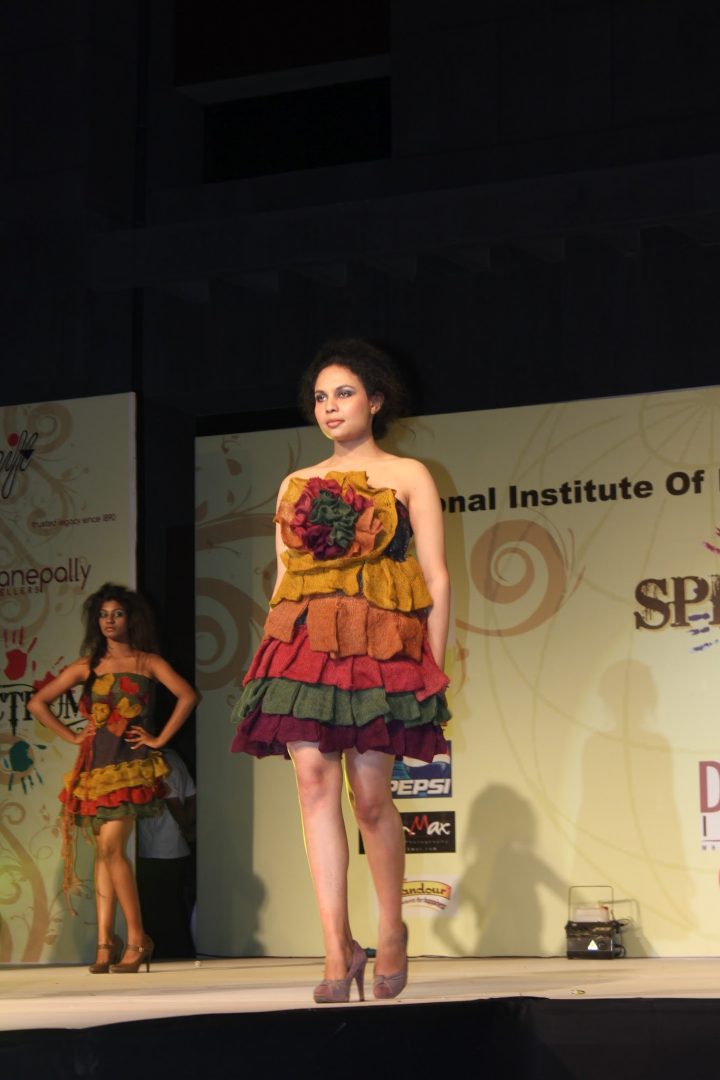
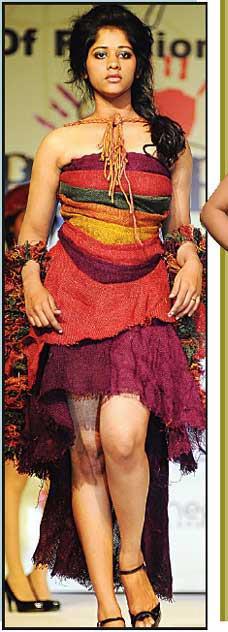
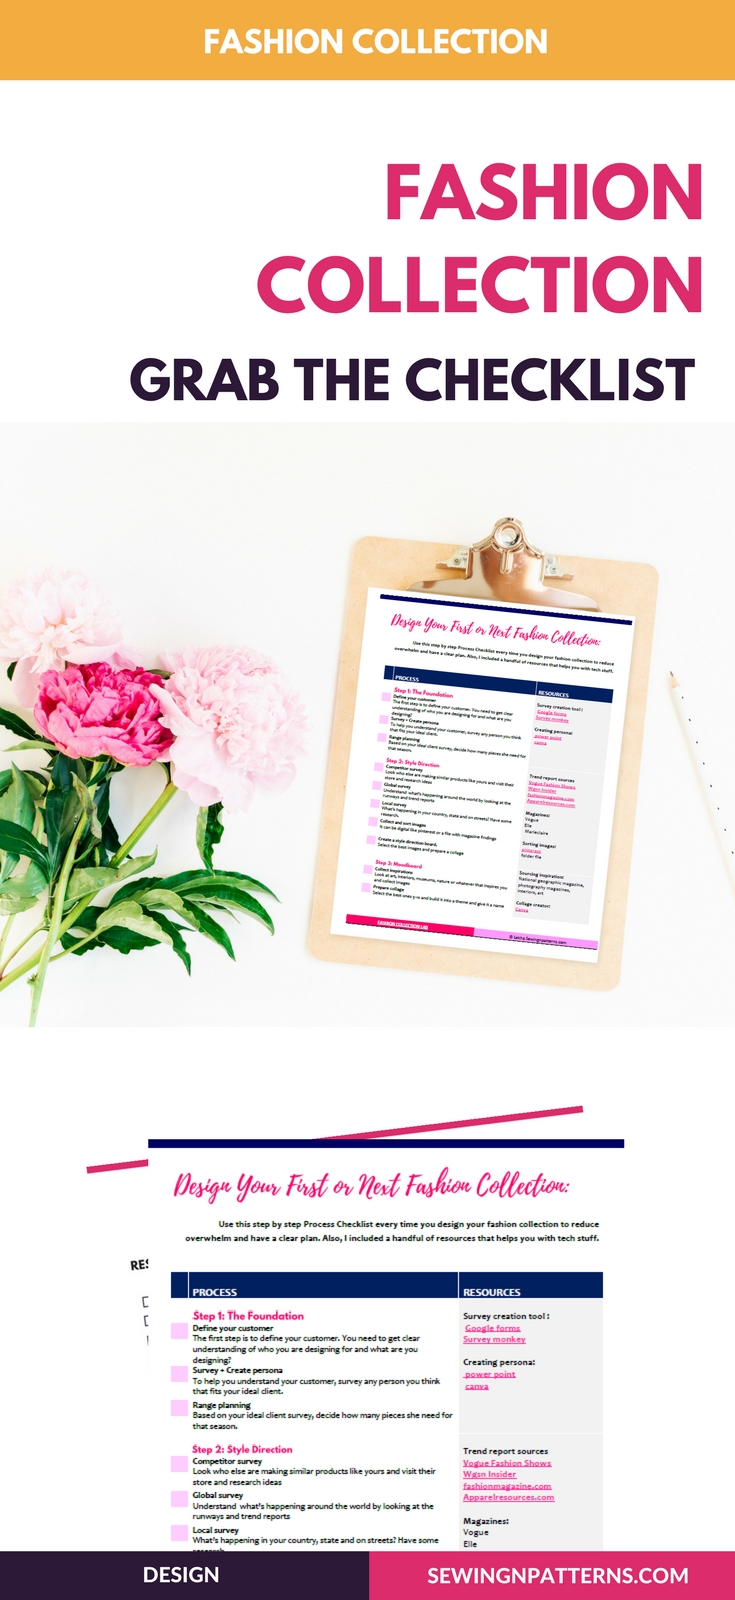
And that’s it. I hope this give you what’s behind creating a fashion collection. If you were interested to design your first or next collection, I made a cheat sheet for you. This checklist breaks you step by step process of designing, that comes very handy while creating your clothing line.
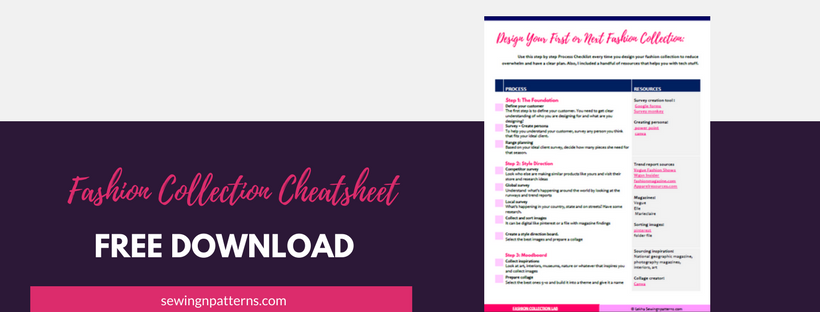
Here’s what you need to do now...
- Download the cheat sheet
- Print the cheat sheet
- Use the cheat sheet and try to plan and design a fashion collection.

You Might Also Like…
- 7 Irresistible fashion sketching books that no one talks about
- 6 Extremely Simple Fashion Sketching Ideas (#6 will blow your mind)
- Designing a clothing line: Fun exercises to up-level your creativity.
- 33 creative tasks for fashion designing (Quick + Easy)
- Learn how to design clothes that sell (secrets revealed)
